
Filling in your brows can be intimidating, especially if you’ve tried before and felt like your brows looked too dark, too boxy, or too drawn on. The truth is, natural-looking brows are not about using a lot of product — it’s about using the right technique and a pencil that allows you to create fine, hair-like strokes.
The biggest mistake beginners make is trying to outline and fill the entire brow. This is what creates that heavy, stamped brow look. Instead, the goal should always be to enhance your natural brow, not redraw it.
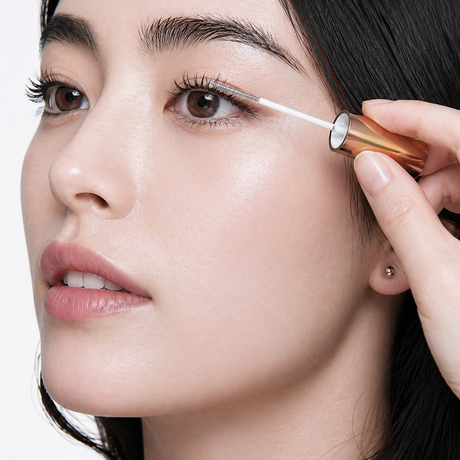
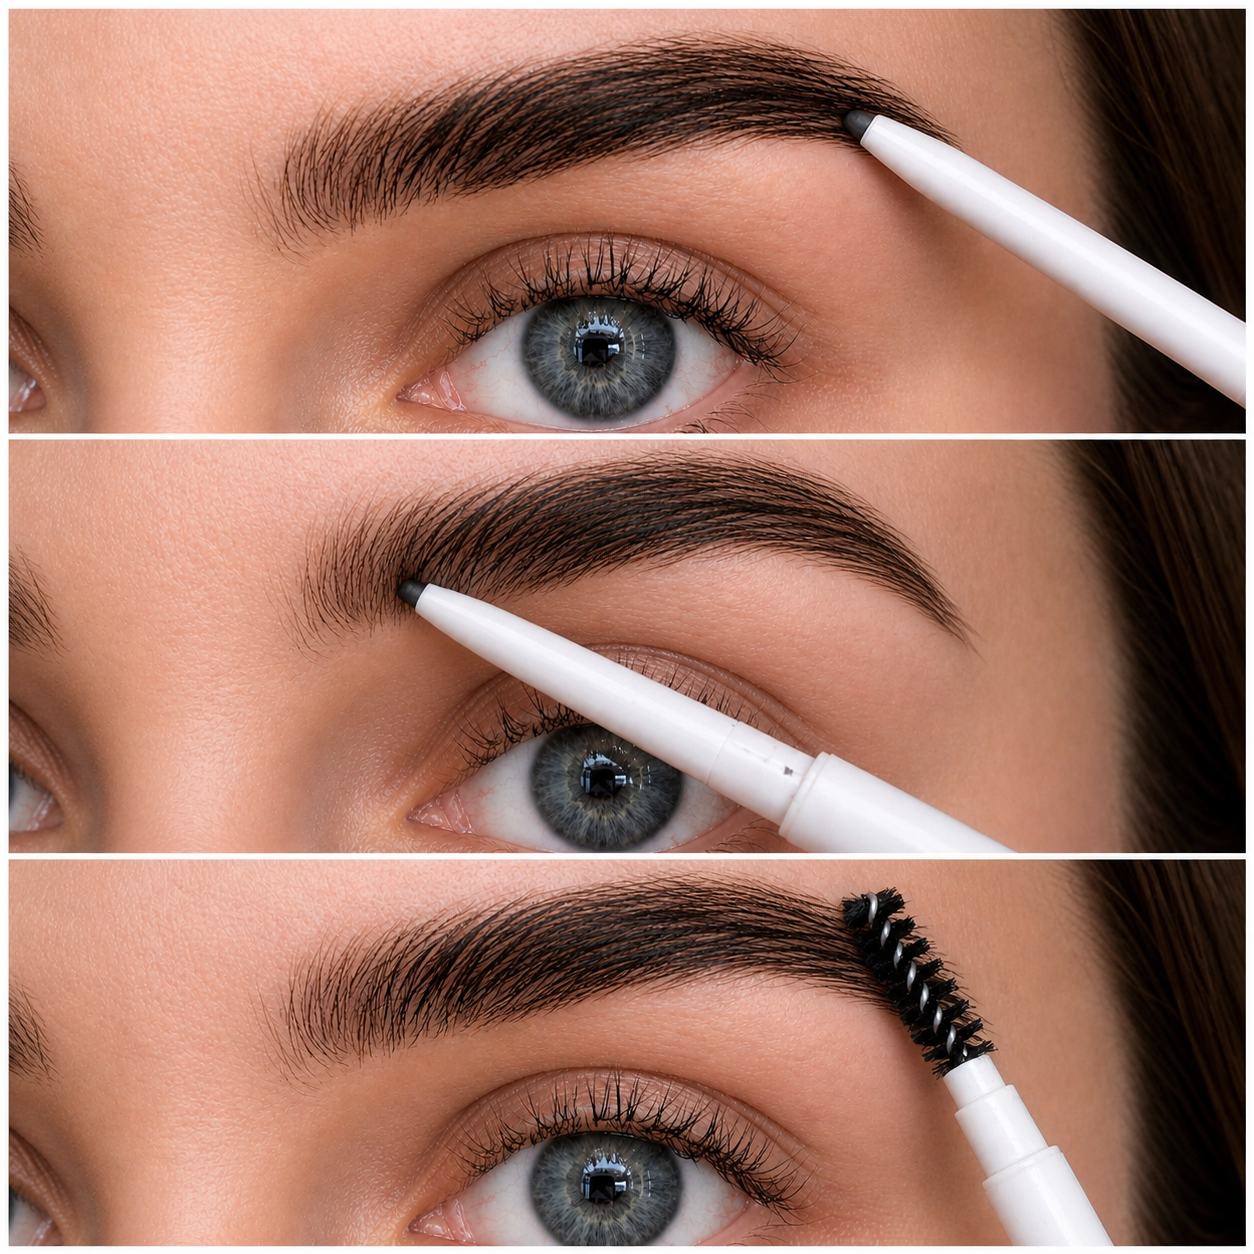
Start by brushing your brows upward with a spoolie. This step is important because it shows you the natural shape of your brow and where there are gaps. Once the hairs are brushed up, you’ll notice that most people actually only need product in the middle and tail of the brow, not the front.
Using a fine-tip pencil like the Standout Precision Brow Pencil, begin creating small, light strokes in the direction your hair grows. Use very light pressure and hold the pencil slightly further back rather than right at the tip — this helps keep your strokes soft and natural.
One of the most important techniques for natural brows is creating a soft front. The front of the brow should always be lighter than the tail. After filling in the middle and tail, use whatever leftover product is on the pencil and lightly add a few strokes at the front, then blend with the spoolie.
This creates a gradient effect, which is what makes brows look natural and professional.
Extra tips for natural-looking brows:
- Use light pressure. Pressing too hard is the number one reason brows look harsh.
- Brush between every few strokes. This keeps the product blended and soft.
- Fill the middle and tail first, then the front last.
-Choose the right shade. If you want natural brows, choose a shade slightly lighter than your brow hair.
-Use hair strokes, not shading. Think sketching, not coloring.
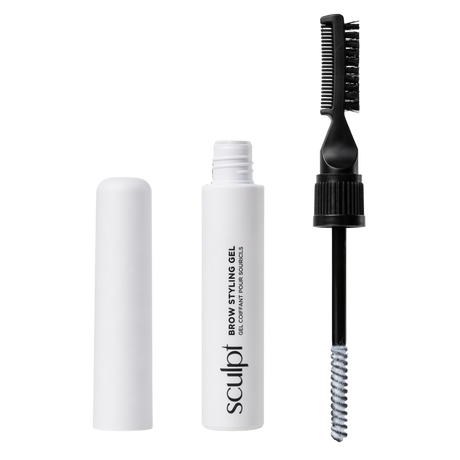
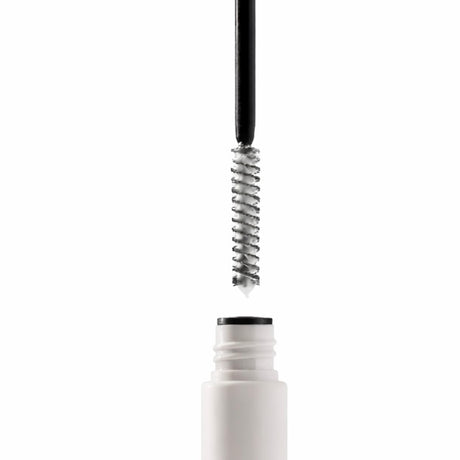
- Set your brows with a brow styling gel to hold the shape in place all day.
Natural brows should still look like skin and hair when you’re done — not like a solid block of color. When done properly, brow pencil should look like real brow hairs, not makeup.
